


Google Ads conversion value tracking is the single most important lever you have for optimizing PWA install campaigns. Get the values wrong, and Smart Bidding optimizes for the wrong outcomes. Get them right, and your cost per quality install drops while ROAS climbs. This guide covers exactly how to configure conversion values for Android PWA installs in 2026 — including why PWA attribution is structurally superior to native app tracking and the specific steps to set it all up.
→ Want to bypass Google Play entirely? See how ROiBest PWA works — no submission, no cut, 1.2x installs.
Why Conversion Value Settings Make or Break PWA Install Campaigns
Every Google Ads campaign relies on conversion data to make bidding decisions. When you run a Target ROAS or Maximize Conversion Value strategy, Google’s algorithm needs two things: which events count as conversions, and how much each conversion is worth. If you assign flat, generic values — or worse, leave values at default — you’re telling Google that every install is equally valuable. That’s almost never true.
For Android PWA distribution, the stakes are even higher. Unlike native app installs through Google Play, PWA installs happen on the open web. This means you have direct control over the conversion pixel, the attribution window, and the value you assign. There’s no intermediary store muddling the signal.
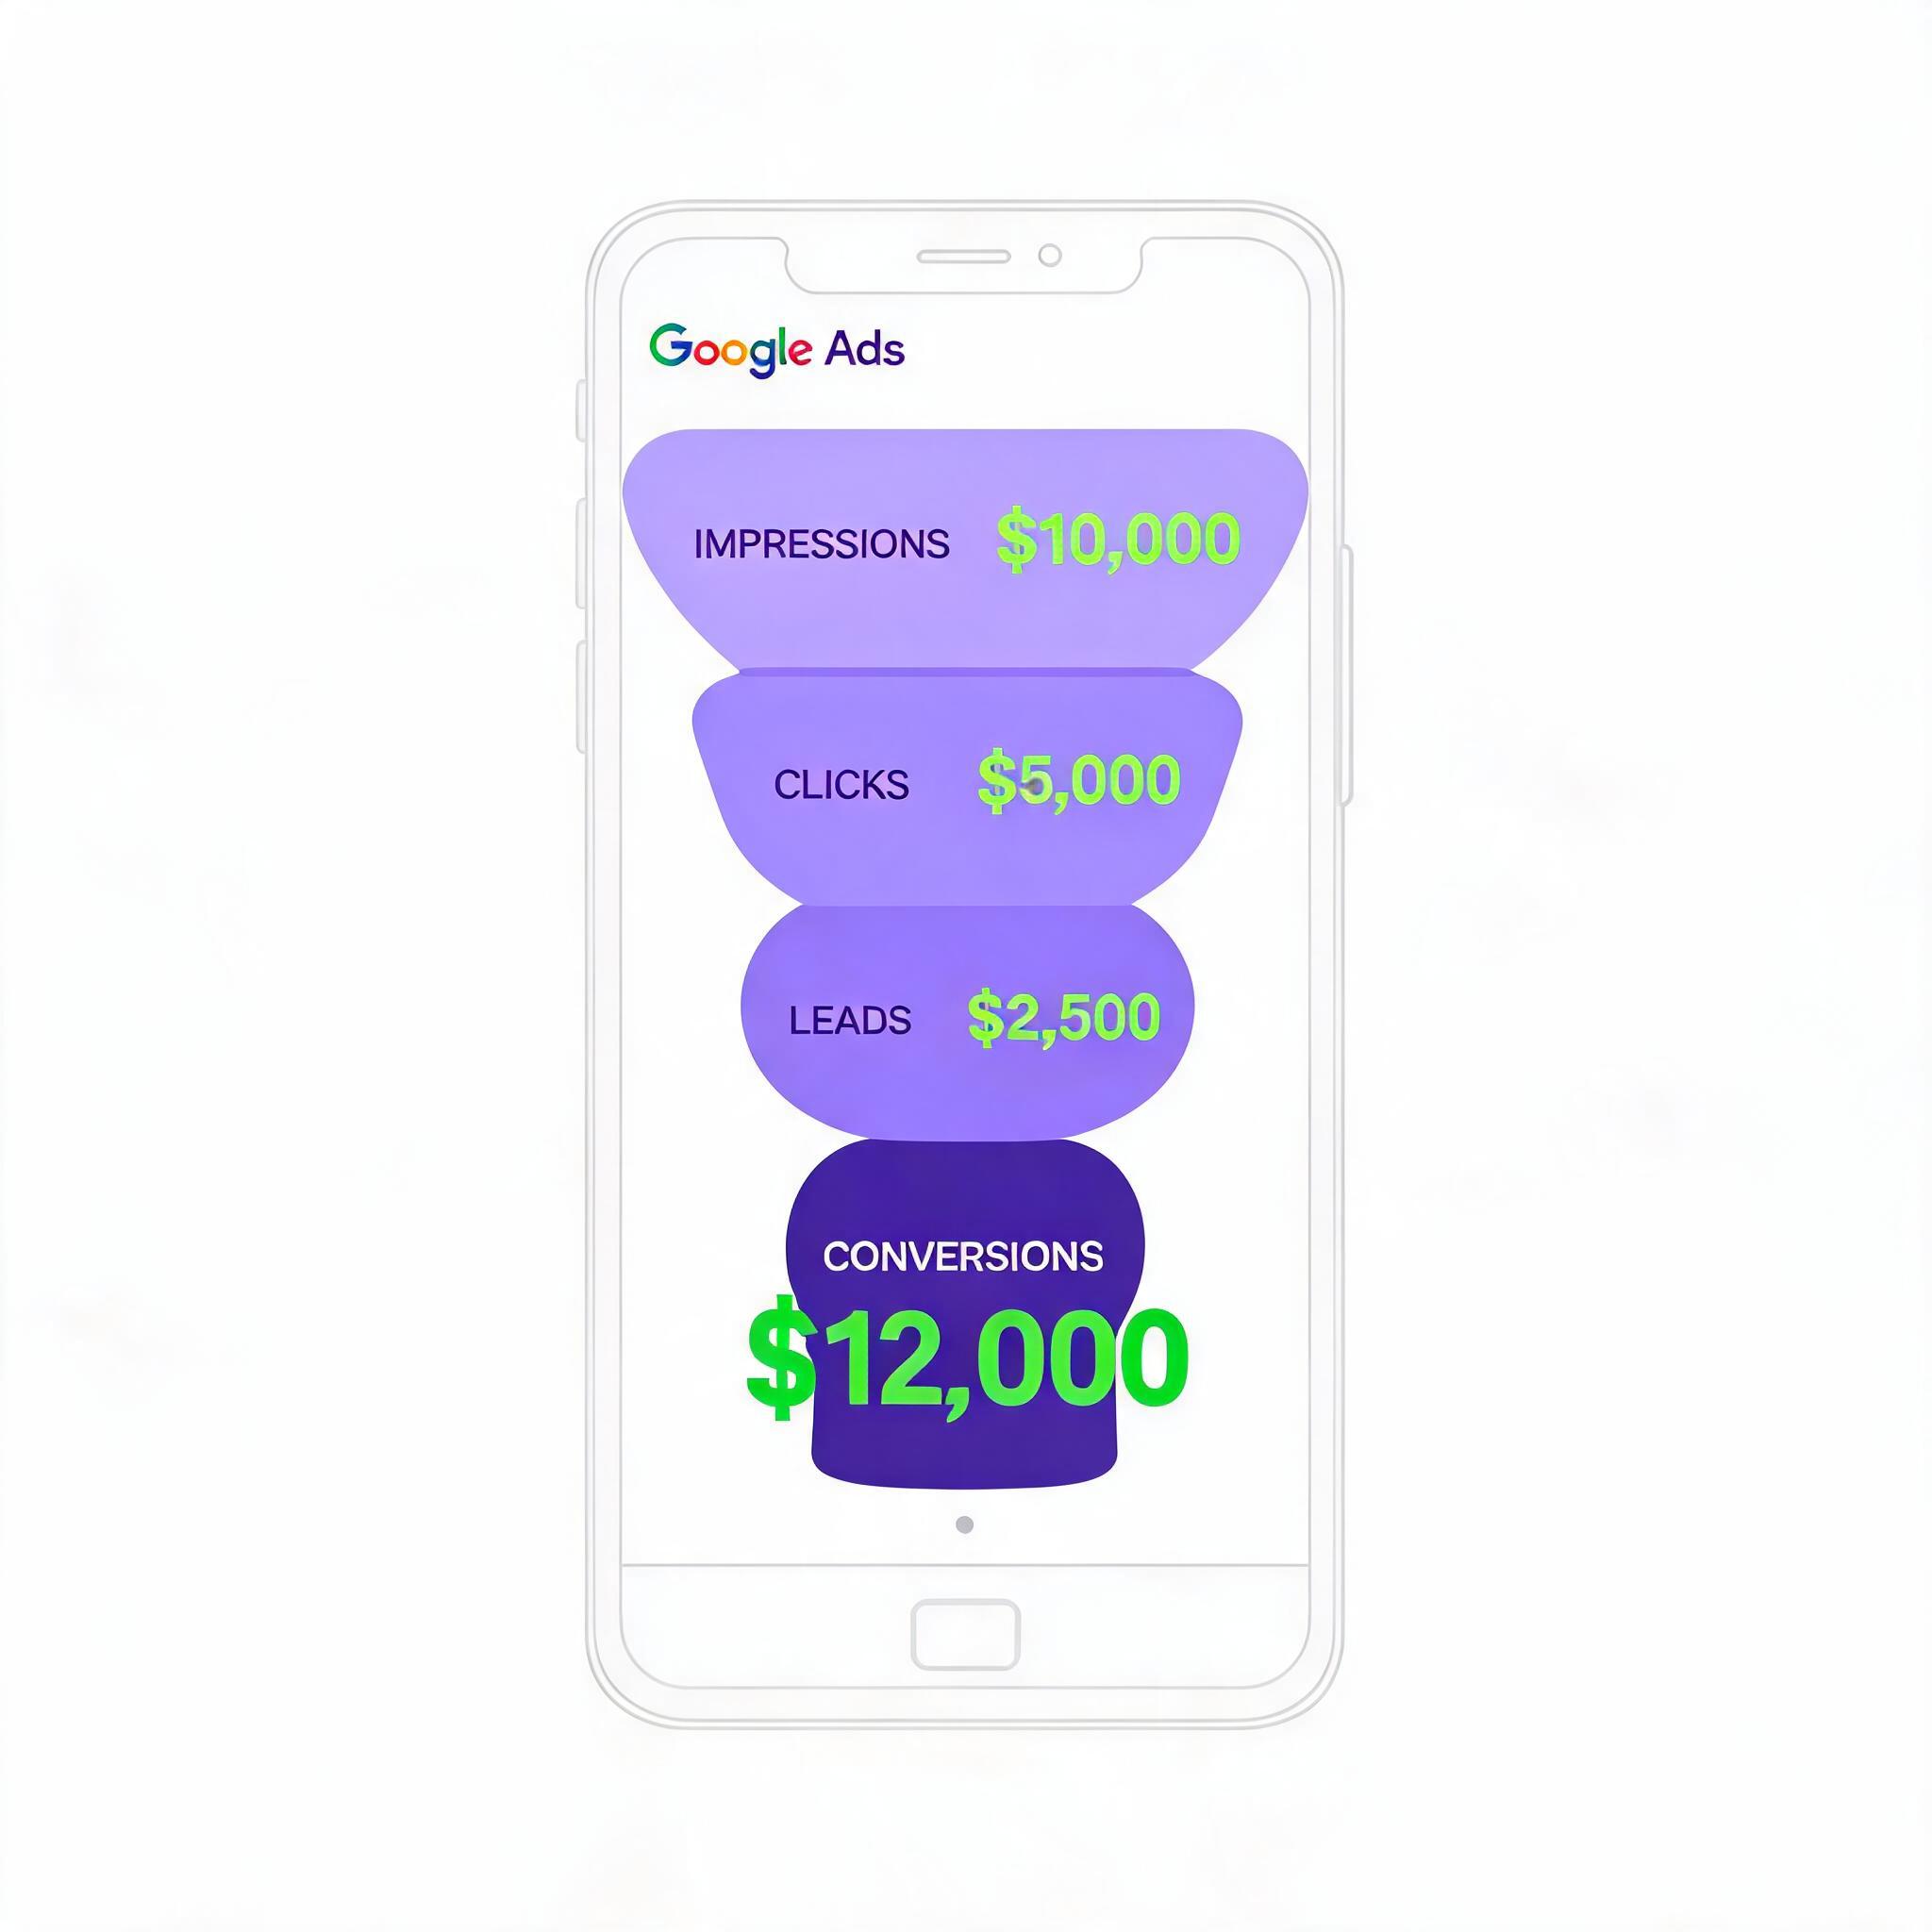
Consider two scenarios. In the first, you set a static conversion value of $1.00 for every PWA install. Google optimizes to get you as many $1.00 conversions as possible, regardless of whether those users ever open the app again or make a purchase. In the second scenario, you assign dynamic conversion values based on post-install behavior — say $2.50 for an install that leads to registration, $8.00 for a first purchase, $25.00 for a subscription. Now Google’s algorithm has real signal. It starts finding users who are more likely to register, purchase, or subscribe, because those conversions carry higher value.
The difference in campaign performance between these two approaches is not marginal. Teams running dynamic conversion values for PWA install campaigns routinely see 30-50% improvements in cost-per-quality-install compared to flat-value setups. The algorithm simply has better data to work with.
PWA campaigns also benefit from a cleaner conversion funnel. When a user clicks a Google Ad, lands on your PWA install page, and adds the app to their home screen, that entire journey happens within the browser. There’s no redirect to an app store, no store listing page where users bounce, no download-and-open gap where attribution breaks. The conversion path is shorter and more direct, which means the values you assign are tied to cleaner, more reliable attribution data.
PWA Install Attribution: Why It’s More Accurate Than Native Apps

One of the least discussed advantages of PWA distribution is attribution quality. For native Android apps, install attribution flows through a complicated chain: Google Ads click → Play Store redirect → download initiation → install completion → first open → postback to Google Ads. At every step in that chain, data can be lost, delayed, or misattributed.
With native apps, most teams rely on a Mobile Measurement Partner (MMP) like AppsFlyer, Adjust, or Branch to reconcile attribution. That adds another layer of complexity, another vendor dependency, and another source of potential discrepancy. And since Google’s Privacy Sandbox for Android is replacing the Advertising ID, native app attribution is becoming even more uncertain. SKAN-style attribution on Android means aggregated, delayed, and limited conversion data.
PWA install attribution works fundamentally differently. Because the PWA lives on the web, standard Google Ads web conversion tracking applies. Here’s why that matters:
- No MMP dependency. You track conversions directly with the Google Ads tag (gtag.js) or Google Tag Manager. The click ID (GCLID) persists through the entire session. No third-party SDK required.
- No Privacy Sandbox limitations. Web-based attribution uses first-party cookies and Google’s own click identifiers. You’re not subject to SKAN-like aggregation thresholds or the 24-72 hour postback delays that plague native app attribution.
- Real-time conversion data. When a user installs your PWA (adds to home screen), the conversion fires immediately. You see it in Google Ads within minutes, not days.
- Full funnel visibility. Because post-install engagement also happens in the web context, you can track registration, purchases, and retention events using the same Google Ads tag — no need to bridge web-to-app attribution.
- Higher match rates. Web-based conversion tracking via GCLID achieves near-100% attribution match rates for Google Ads clicks. Native app install attribution, especially with Privacy Sandbox, often drops to 50-70% match rates for non-Google campaigns.
This attribution advantage has a direct impact on conversion value accuracy. When your attribution is cleaner, the values you assign to conversions are more trustworthy. Google’s Smart Bidding algorithms perform better because they’re learning from higher-quality signal. In practical terms, this means your Target ROAS campaigns actually hit their targets more consistently with PWA conversions than with native app conversions.
For teams considering the shift from Google Play to direct PWA distribution, first-party data advantages extend well beyond attribution. But attribution accuracy alone is often reason enough to make the switch.
Step-by-Step: Setting Up Conversion Values for PWA Installs
Here’s the exact process for configuring conversion value tracking for your Android PWA install campaigns. This isn’t a developer tutorial — it’s a campaign operations guide for the team managing Google Ads.
Step 1: Define Your Conversion Events and Value Tiers
Before touching Google Ads, map out every meaningful user action in your PWA funnel. A typical PWA install funnel includes:
- PWA Install (Add to Home Screen): The baseline conversion. This is the equivalent of an app install.
- First Open from Home Screen: Confirms the user actually uses the installed PWA.
- Registration / Sign-Up: The user creates an account.
- Key Engagement Event: Varies by app — could be completing a profile, viewing 5 pages, playing a game session, etc.
- First Purchase or Subscription: Revenue-generating event.
- Repeat Purchase / Retention Event: Indicates long-term user value.
Assign a dollar value to each event based on your unit economics. For example, if your average user generates $15 in lifetime revenue, and 20% of installs lead to a purchase, then a PWA install is worth roughly $3.00 as a baseline. A registration might be worth $5.00, and a first purchase might be worth $12.00. These don’t need to be perfect — they need to be directionally accurate so Smart Bidding can differentiate between low-value and high-value conversions.
Step 2: Implement the Google Ads Conversion Tag on Your PWA
Work with your development team or your PWA packaging partner (like ROiBest) to place the Google Ads conversion tag on your PWA install flow. The key placements are:
- On the install prompt page: Fire a conversion event when the user successfully completes the Add to Home Screen action. This is your primary install conversion.
- On post-install engagement pages: Fire additional conversion events for registration, key engagement milestones, and purchases. Each of these should be configured as a separate conversion action in Google Ads.
- Enhanced conversions: Enable enhanced conversions using first-party data (hashed email or phone number at registration) to improve match rates and cross-device attribution.
The critical technical point: because PWA installs are web events, you use the standard gtag.js conversion snippet or Google Tag Manager container. There’s no Firebase SDK, no MMP SDK, and no app-specific conversion tracking setup required. This is one of the operational advantages of the PWA model.
Step 3: Configure Conversion Actions in Google Ads
In your Google Ads account, navigate to Goals → Conversions → Summary. Create a new conversion action for each event tier:
- Create the PWA Install conversion action. Set the category to “Install” or “Lead” (depending on your business model). Choose “Use different values for each conversion” if you want to pass dynamic values from your tag, or “Use the same value for each conversion” and enter your calculated install value.
- Set the counting method. For install events, use “One” counting (one conversion per click). For purchase events, use “Every” counting (every purchase counts).
- Configure the attribution window. For PWA installs, a 7-day click-through window is usually sufficient since the install path is much shorter than native app downloads. For purchases, extend to 30 days.
- Mark primary vs. secondary conversions. Decide which conversion actions should be “Primary” (used for bidding) and which should be “Secondary” (tracked for reporting only). Typically, your PWA install event is primary if you’re running install-focused campaigns, or your purchase event is primary if you’re optimizing for revenue.
- Enable conversion value rules. Use value rules to adjust conversion values based on audience segments, geographic location, or device type. For example, if users from certain markets have 2x higher LTV, you can add a value rule that multiplies the conversion value for those locations.
Step 4: Connect Conversion Data to Your Bidding Strategy
Once your conversion actions are set up and firing, update your campaign bidding strategy:
- For install volume campaigns: Use Maximize Conversions with a target CPA based on your install value.
- For revenue-optimized campaigns: Use Maximize Conversion Value with a Target ROAS. Set the target ROAS based on your acceptable return — for example, if you spend $3.00 per install and expect $9.00 in revenue, your target ROAS is 300%.
- Allow 2-3 weeks of learning period after switching bidding strategies. During this time, conversion value data accumulates and Smart Bidding calibrates.
Step 5: Validate Attribution and Value Accuracy
After your campaigns have been running for at least two weeks, audit the data:
- Compare Google Ads reported conversions against your backend PWA install logs. Match rates should be 90%+ for GCLID-based attribution.
- Check that conversion values in Google Ads align with actual revenue data from your backend. If there’s a significant gap, recalibrate your value assignments.
- Review the “Conversion lag” report in Google Ads to understand how quickly installs convert to downstream events. Use this data to refine your attribution windows.
Optimizing ROAS with PWA-Specific Value Signals
Once you have basic conversion value tracking in place, there are several PWA-specific optimizations that can significantly improve your campaign ROAS.
Leverage the Zero-Commission Advantage
When you distribute via Google Play, Google takes a 30% commission on in-app purchases (15% for the first $1M under the reduced tier). With PWA distribution, you keep 100% of revenue. This changes your conversion value math dramatically.
For example, if a user makes a $10 purchase through a Google Play app, you net $7.00 after the Play Store cut. The same $10 purchase through a PWA nets you $10.00. That means the true conversion value of a PWA purchase is 43% higher than the same purchase through a native app. Reflect this in your conversion value settings — assign higher values to PWA purchase events because the actual revenue retention is higher. This allows you to bid more aggressively while maintaining the same real ROAS.
Use Push Notification Re-engagement as a Value Signal
PWAs support web push notifications, which means you can re-engage users who have installed but gone dormant — without any app store dependency. Track re-engagement conversions (users who return via push notification and complete a valuable action) as a separate conversion event with its own value.
The unique advantage here: PWA push notifications can reach users even after they’ve “uninstalled” (removed the PWA from their home screen), because push subscription persists at the browser level. This extended reach means your effective retention window is longer, which increases lifetime value — and that should be reflected in your conversion value model.
Implement Value-Based Bidding with Audience Segments
Because PWA installs happen on the web, you have access to Google Ads audience targeting features that aren’t available for app campaigns. Create audience segments based on:
- Site behavior: Users who visited high-intent pages before installing are worth more.
- Geographic signals: Assign higher values to installs from markets with proven higher LTV.
- Device and connectivity: PWAs perform especially well on mid-range Android devices in emerging markets, where install conversion rates are up to 1.2x higher than native app downloads due to smaller install footprint and no Play Store friction.
Use Google Ads conversion value rules to automatically adjust values for these segments, giving Smart Bidding even richer signal to optimize against.
Track the Full Attribution Chain Without Gaps
One of the most powerful aspects of PWA conversion value tracking is attribution continuity. Because everything from ad click to install to purchase happens in the web context, you can build a complete attribution chain using Google Analytics 4 alongside Google Ads. Set up GA4 events that mirror your Google Ads conversion actions, and use the GA4 attribution reports to validate your conversion value assignments across different attribution models (last click, data-driven, etc.).
This level of attribution transparency is simply not available with native app installs, where the Play Store acts as a black box between the ad click and the install event.
Summary + Action Checklist
Setting up conversion value tracking for Android PWA installs is not just a technical exercise — it’s the foundation of profitable paid acquisition. Here’s your action checklist:
- Map your conversion funnel — identify every meaningful post-install event (registration, engagement, purchase, retention).
- Assign dollar values to each event based on your unit economics. Remember to factor in the 0% commission advantage of PWA vs. 30% Google Play cut.
- Implement the Google Ads conversion tag on your PWA install flow and all downstream events using gtag.js or GTM. No MMP or Firebase required.
- Configure conversion actions in Google Ads with appropriate counting methods, attribution windows, and primary/secondary designations.
- Set up conversion value rules to adjust values by audience, geography, and device.
- Launch with value-based bidding — Maximize Conversion Value with Target ROAS for revenue-focused campaigns.
- Validate after two weeks — compare Google Ads data against backend logs, check match rates, and recalibrate values as needed.
- Leverage PWA-specific advantages — zero commission, push notification re-engagement, and web-native audience targeting to maximize ROAS.
PWA install tracking is structurally cleaner than native app tracking. No SKAN limitations. No Privacy Sandbox uncertainty. No MMP discrepancies. Direct, web-based, real-time attribution with full value chain visibility. If you’re running Android install campaigns, this is the model that gives Smart Bidding the best data to work with.
Skip the app store. Go live instantly, keep 100% of your revenue.
ROiBest helps Android app teams launch PWAs — no review process, no 30% Google Play cut, and push notifications that work even after uninstall. Teams see up to 1.2x higher install conversion rates vs native app downloads.


发表评论