

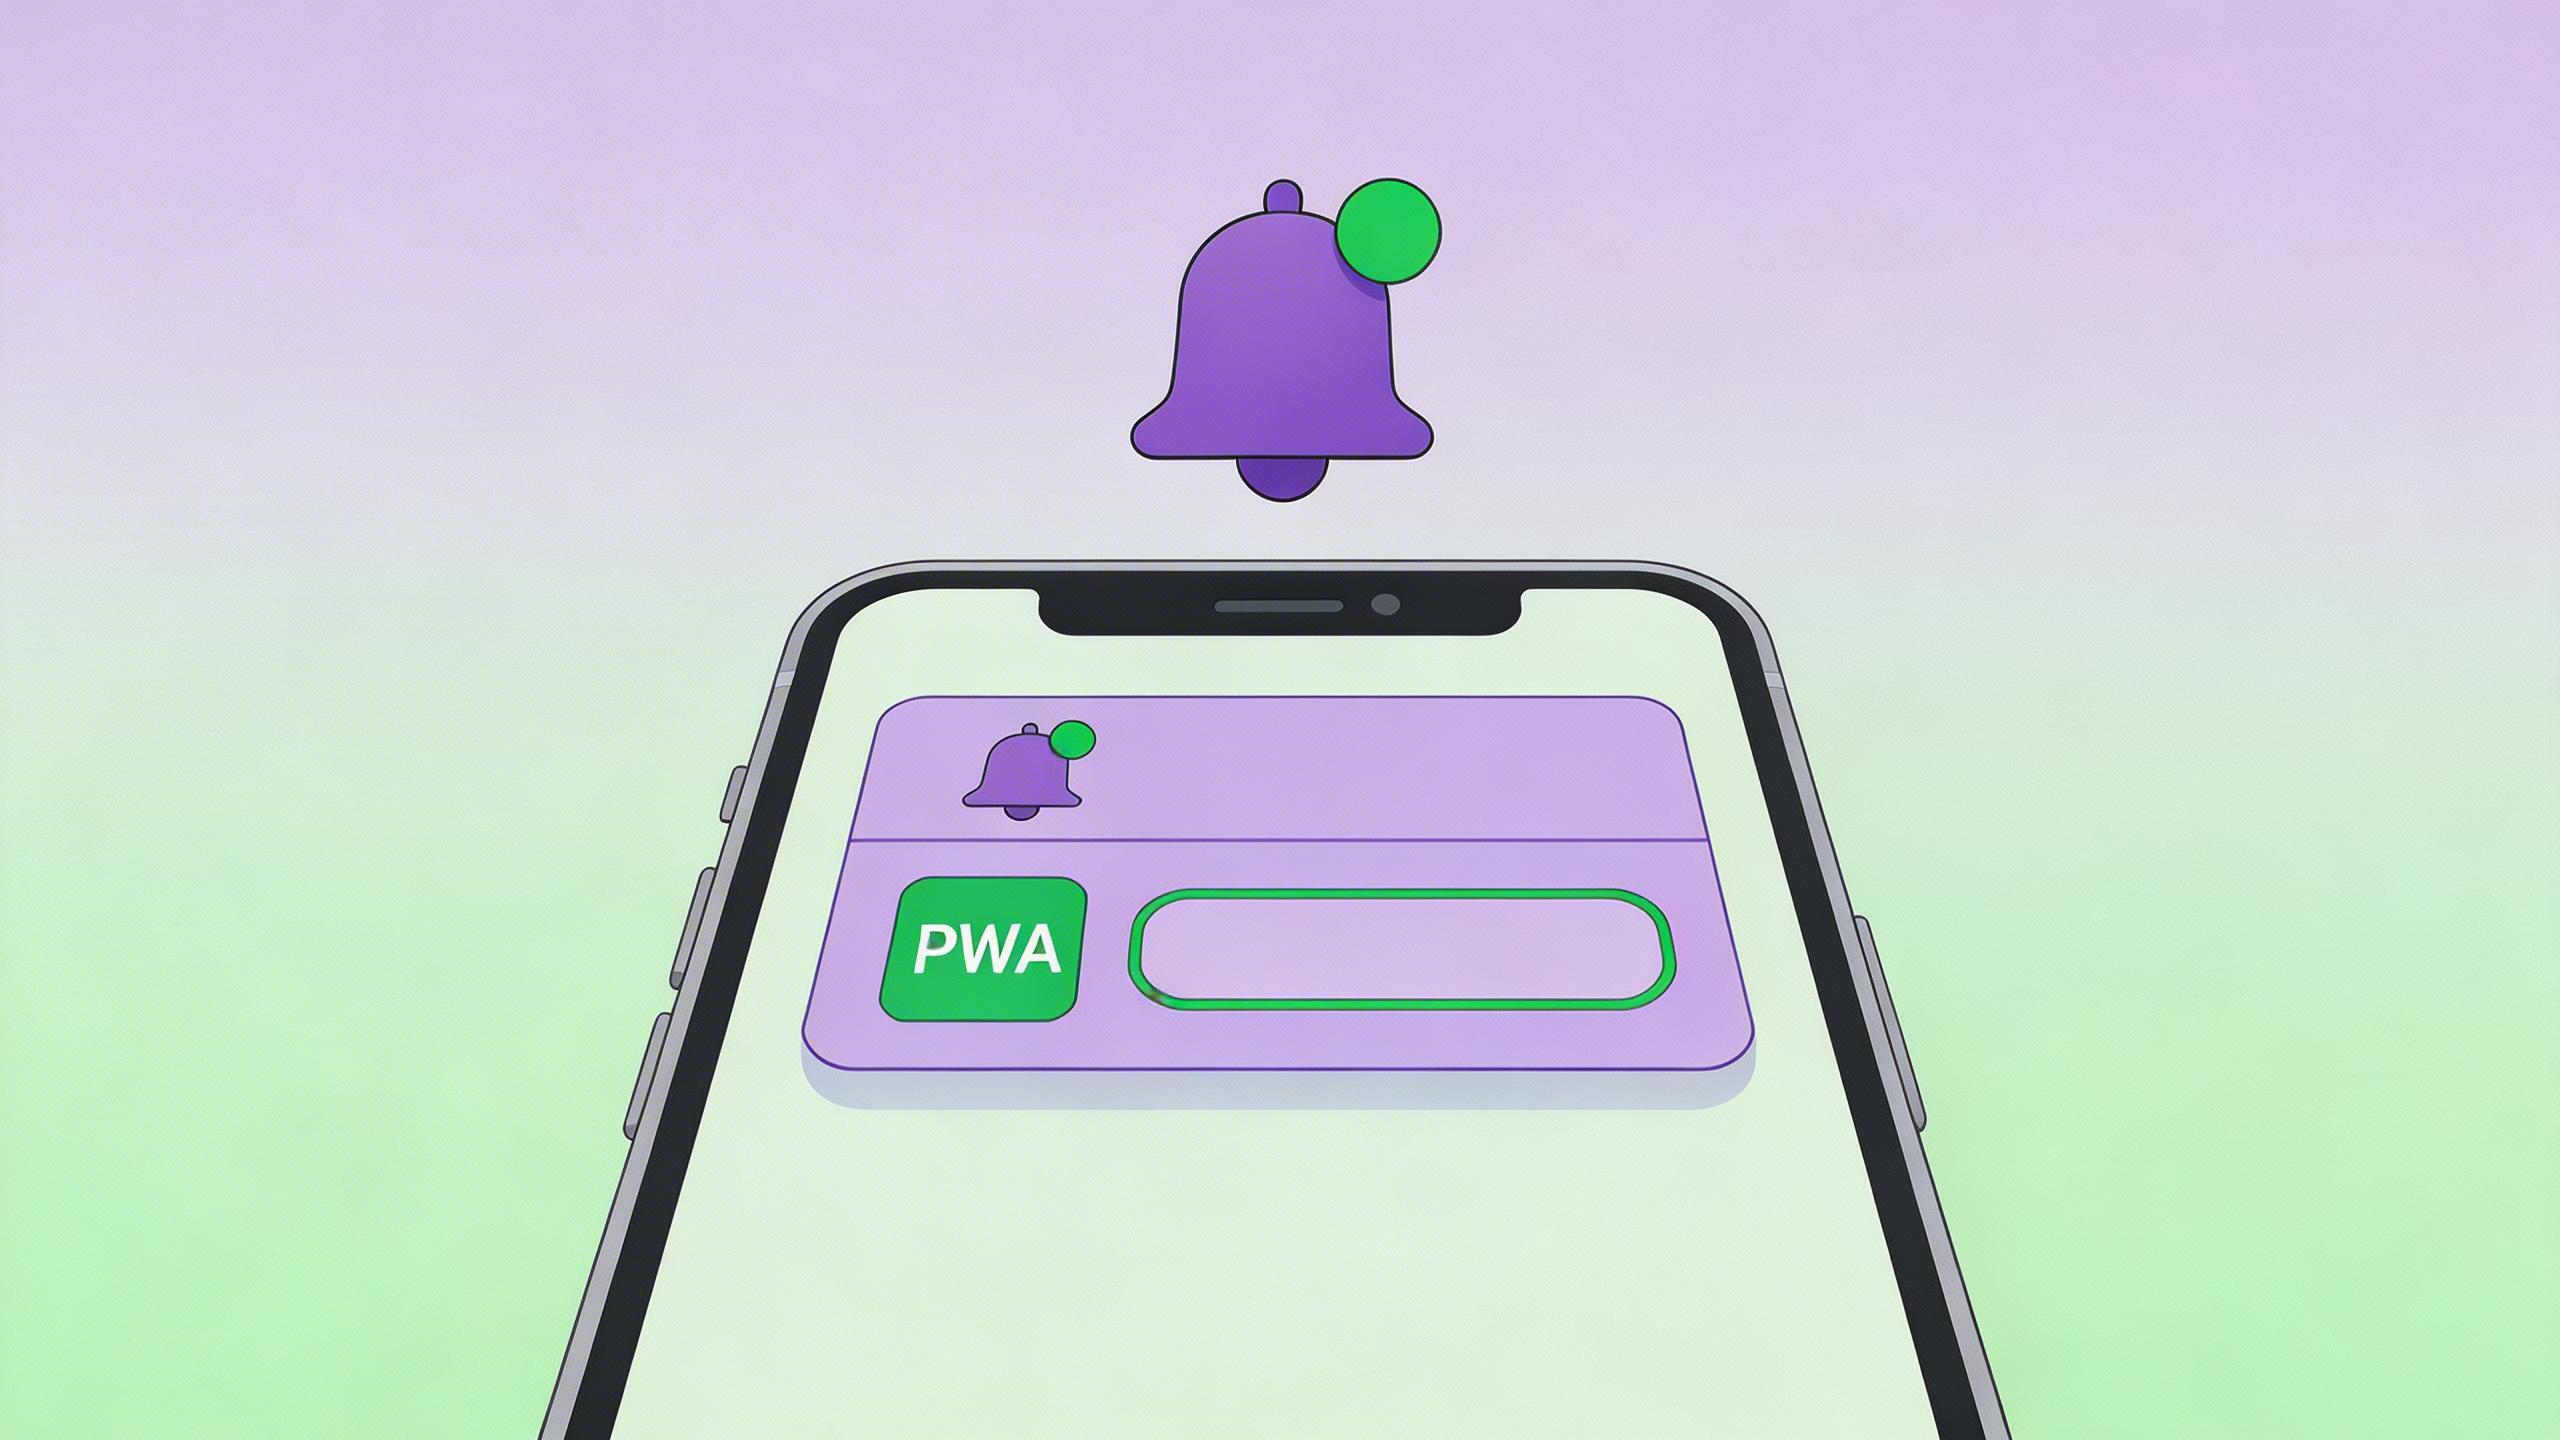
Push notifications have become one of the most powerful tools for re-engaging users on mobile — and for Progressive Web Apps on Android, they represent a direct channel back to your audience without requiring an app store listing. In 2026, with Web Push now fully supported across all major browsers and Android devices, there has never been a better time to integrate push notifications into your PWA strategy. This guide walks you through every step of the setup process, from configuring Firebase Cloud Messaging to handling notification clicks and tracking re-engagement metrics.
Whether you are building a cross-border e-commerce storefront, a content platform, or a SaaS tool, push notifications help you stay top-of-mind with users who have already shown interest. Let us get into the details.
→ Want to improve post-click conversions? Talk to DeepClick.
Why Push Notifications Matter for Android PWAs
The gap between native apps and PWAs has narrowed dramatically. Android Chrome now supports rich media notifications, action buttons, custom notification sounds, badges, and silent push — features that were once exclusive to native applications. For teams running Meta Ads creative scaling campaigns, push notifications serve as a critical re-engagement layer that keeps users coming back after the initial ad click.
Consider these statistics: users who opt in to push notifications show 3-4x higher retention rates compared to those who do not. For PWAs specifically, push notifications bridge the gap left by the absence of an app icon in the launcher (unless the user installs the PWA to their home screen). They give you a persistent communication channel that works even when the browser is closed.
Push notifications are especially valuable in scenarios where timely information drives action — flash sales, order updates, breaking news, social interactions, or game events. If your mobile landing page speed is already optimized and users are arriving at your PWA, push notifications ensure those users return.
Prerequisites: HTTPS, Service Worker, and Manifest

Before diving into the push notification setup, make sure your PWA meets the fundamental requirements.
HTTPS is mandatory. Service workers — the backbone of push notifications — can only be registered on secure origins. This is a non-negotiable browser security requirement. If your site is still serving pages over HTTP, you must migrate to HTTPS before proceeding. Most modern hosting providers and CDNs offer free TLS certificates via Let’s Encrypt.
Service worker file. You need a service worker JavaScript file (commonly named sw.js or service-worker.js) that your main page registers. The service worker acts as a programmable proxy between your web application and the network, and it is the component that receives push events in the background — even when the user is not actively browsing your site.
Web App Manifest. Your manifest.json (or manifest.webmanifest) should be properly configured with your app name, icons, start URL, display mode, and theme colors. While the manifest is not strictly required for push notifications to function, it is essential for the installability prompt and for providing a polished experience when users interact with notifications.
Here is a minimal manifest example:
{
  "name": "My PWA App",
  "short_name": "MyPWA",
  "start_url": "/",
  "display": "standalone",
  "background_color": "#ffffff",
  "theme_color": "#6b21a8",
  "icons": [
    { "src": "/icons/icon-192.png", "sizes": "192x192", "type": "image/png" },
    { "src": "/icons/icon-512.png", "sizes": "512x512", "type": "image/png" }
  ]
}
Step 1: Set Up Firebase Cloud Messaging (FCM)
Firebase Cloud Messaging remains the most widely used push service for web applications in 2026. It acts as the intermediary between your server and the browser’s push service endpoint.
Create a Firebase project. Go to the Firebase Console, create a new project (or use an existing one), and navigate to Project Settings → Cloud Messaging. Make sure the Cloud Messaging API (V2) is enabled.
Get your VAPID key. Under the Web Push certificates section, generate a new key pair. This VAPID (Voluntary Application Server Identification) key is used to authenticate your server with the push service. Copy the public key — you will need it in your client-side code.
Add Firebase SDK to your project. Install the Firebase JavaScript SDK:
npm install firebaseThen initialize it in your application:
import { initializeApp } from 'firebase/app';
import { getMessaging, getToken, onMessage } from 'firebase/messaging';

const firebaseConfig = {
  apiKey: "YOUR_API_KEY",
  authDomain: "your-project.firebaseapp.com",
  projectId: "your-project-id",
  messagingSenderId: "YOUR_SENDER_ID",
  appId: "YOUR_APP_ID"
};

const app = initializeApp(firebaseConfig);
const messaging = getMessaging(app);
Configure firebase-messaging-sw.js. Firebase requires a special service worker file named firebase-messaging-sw.js at the root of your domain. This file handles background push events:
importScripts('https://www.gstatic.com/firebasejs/10.12.0/firebase-app-compat.js');
importScripts('https://www.gstatic.com/firebasejs/10.12.0/firebase-messaging-compat.js');

firebase.initializeApp({
  apiKey: "YOUR_API_KEY",
  projectId: "your-project-id",
  messagingSenderId: "YOUR_SENDER_ID",
  appId: "YOUR_APP_ID"
});

const messaging = firebase.messaging();

messaging.onBackgroundMessage((payload) => {
  const { title, body, icon } = payload.notification;
  self.registration.showNotification(title, {
    body,
    icon: icon || '/icons/icon-192.png'
  });
});
Step 2: Register the Service Worker for Push
Service workers handle background operations as the bridge between server and browser. Registration should happen early in your page lifecycle, but push subscription should be triggered by a deliberate user action.
Register the service worker in your main JavaScript file:
if ('serviceWorker' in navigator) {
  navigator.serviceWorker.register('/firebase-messaging-sw.js')
    .then((registration) => {
      console.log('Service Worker registered with scope:', registration.scope);
    })
    .catch((error) => {
      console.error('SW registration failed:', error);
    });
}
Once the service worker is registered, you can obtain a push subscription token from FCM:
async function subscribeToPush() {
  try {
    const token = await getToken(messaging, {
      vapidKey: 'YOUR_VAPID_PUBLIC_KEY',
      serviceWorkerRegistration: await navigator.serviceWorker.ready
    });
    if (token) {
      // Send token to your server for storage
      await fetch('/api/save-push-token', {
        method: 'POST',
        headers: { 'Content-Type': 'application/json' },
        body: JSON.stringify({ token })
      });
    }
  } catch (error) {
    console.error('Failed to get push token:', error);
  }
}
Store these tokens server-side — they are the addresses you will use to send targeted push messages to individual users or segments.
DeepClick helps Meta advertisers optimize the post-click experience and boost CVR by 30%+.
→ Book a Free Demo
Step 3: Request Notification Permission (The Right Way)
Permission UX is where many PWA developers go wrong. Browsers have tightened restrictions on notification permission prompts — Chrome on Android now suppresses prompts that appear without user interaction. If you trigger the permission dialog on page load, you risk an automatic denial that is extremely difficult to reverse.
The best practice in 2026 is a two-step approach, which mirrors the progressive disclosure pattern used in landing page design:
Step A: Show a custom in-app prompt. Before calling the browser’s native permission API, display your own UI element explaining the value of notifications. This could be a banner, a modal, or an inline card that says something like: “Get notified about flash sales and order updates — never miss a deal.”
Step B: Trigger the native prompt only after the user clicks “Enable.” This way, you only ask users who have already shown intent, dramatically increasing your opt-in rate.
document.getElementById('enable-notifications-btn').addEventListener('click', async () => {
  const permission = await Notification.requestPermission();
  if (permission === 'granted') {
    await subscribeToPush();
    showThankYouMessage();
  } else if (permission === 'denied') {
    showPermissionDeniedHelp();
  }
});
If the user denies the native prompt, you cannot ask again — the browser will remember the denial. In that case, provide instructions for manually enabling notifications through browser settings. Consider timing your prompt strategically: after the user has completed a key action (like making a purchase or reading an article) rather than immediately upon arrival.
Step 4: Handle Push Events and Display Notifications
When your server sends a push message through FCM, the service worker receives a push event. You need to handle this event to display the notification to the user.
For maximum flexibility beyond Firebase’s built-in handling, you can listen to raw push events:
self.addEventListener('push', (event) => {
  let data = {};
  if (event.data) {
    data = event.data.json();
  }

  const options = {
    body: data.body || 'You have a new update',
    icon: data.icon || '/icons/icon-192.png',
    badge: '/icons/badge-72.png',
    image: data.image,  // Rich media support on Android
    actions: [
      { action: 'open', title: 'View Now' },
      { action: 'dismiss', title: 'Later' }
    ],
    vibrate: [200, 100, 200],
    tag: data.tag || 'default',
    renotify: true,
    data: { url: data.click_url || '/' }
  };

  event.waitUntil(
    self.registration.showNotification(data.title || 'Notification', options)
  );
});
Key Android-specific features you can leverage:
- Rich media: The
imageproperty displays a large image in the notification on Android Chrome. - Action buttons: Up to two action buttons can be added, giving users quick choices without opening the full app.
- Badge: A small monochrome icon shown in the status bar on Android.
- Tag and renotify: Use tags to replace existing notifications of the same type, and set
renotify: trueto alert the user even when replacing. - Vibration patterns: Custom vibration sequences for different notification types.
On the server side, send messages through the FCM HTTP v1 API:
POST https://fcm.googleapis.com/v1/projects/YOUR_PROJECT/messages:send
Authorization: Bearer YOUR_ACCESS_TOKEN
Content-Type: application/json

{
  "message": {
    "token": "USER_DEVICE_TOKEN",
    "notification": {
      "title": "Flash Sale: 50% Off",
      "body": "Your favorite items are on sale. Tap to shop now."
    },
    "webpush": {
      "notification": {
        "icon": "/icons/icon-192.png",
        "image": "/images/sale-banner.jpg",
        "actions": [
          { "action": "shop", "title": "Shop Now" }
        ]
      },
      "fcm_options": {
        "link": "https://yourpwa.com/sale"
      }
    }
  }
}
Step 5: Track Notification Clicks and Re-Engagement Metrics
Sending notifications is only half the equation — you need to measure their effectiveness. Handle notification clicks in your service worker:
self.addEventListener('notificationclick', (event) => {
  event.notification.close();

  const clickAction = event.action;
  const targetUrl = event.notification.data?.url || '/';

  // Track the click
  const trackingUrl = `/api/track-notification-click?action=${clickAction}&campaign=${event.notification.tag}`;

  event.waitUntil(
    fetch(trackingUrl).then(() => {
      return clients.matchAll({ type: 'window', includeUncontrolled: true }).then((windowClients) => {
        for (const client of windowClients) {
          if (client.url === targetUrl && 'focus' in client) {
            return client.focus();
          }
        }
        return clients.openWindow(targetUrl);
      });
    })
  );
});
Key metrics to track include:
- Delivery rate: Percentage of sent messages that reach the device.
- Click-through rate (CTR): Percentage of delivered notifications that users tap.
- Conversion rate: Percentage of notification clicks that lead to a desired action.
- Opt-out rate: How many users disable notifications over time.
- Time-to-click: How quickly users respond after receiving a notification.
Integrate these metrics with your analytics platform. If you are running paid campaigns alongside push notifications, correlate push re-engagement data with your cookieless post-click tracking setup to build a complete picture of the user journey.
Common Pitfalls: Battery Optimization, Permission Denial, and Silent Push
Even with a correct implementation, several Android-specific issues can undermine your push notification strategy.
Battery optimization kills background processes. Android’s battery optimization can block notifications for inactive PWAs. Manufacturers like Samsung, Xiaomi, Huawei, and Oppo layer their own aggressive battery management on top of Android’s default Doze mode. This means your service worker may be terminated before it can process a push event. Unfortunately, there is no programmatic workaround — you need to educate users to whitelist your PWA from battery optimization. Consider showing a guide during onboarding.
Permission denial is sticky. Once a user denies notification permission, you cannot programmatically request it again. The only path is manual: Settings → Site Settings → Notifications → Enable. This is why the two-step permission pattern described earlier is so critical. Never waste your one chance at the native prompt.
Silent push limitations. While silent push (push messages that do not display a notification) is useful for background data sync, Chrome enforces a quota. If you send too many silent pushes without showing a visible notification, Chrome will show a default notification that you did not author, and eventually throttle your push subscription. Always show a notification for user-facing pushes.
Token expiration and rotation. FCM tokens can expire or change — for example, when the user clears browser data, uninstalls and reinstalls the browser, or when Firebase rotates tokens. Implement a token refresh mechanism that updates your server whenever the token changes.
Cross-browser testing. While this guide focuses on Android Chrome, remember that Samsung Internet, Edge, and Firefox for Android each have their own quirks with Web Push. Test across browsers your audience uses. The smart traffic AI approach of routing users to optimized experiences can help you handle browser-specific differences.
Key Takeaways and Implementation Checklist
Here is your implementation checklist for PWA push notifications on Android in 2026:
- Ensure your site is served over HTTPS — no exceptions.
- Create and register a service worker that handles push and notification click events.
- Set up a Firebase Cloud Messaging project with VAPID keys.
- Implement a two-step permission flow — custom prompt first, native prompt second.
- Use rich notification features — images, action buttons, badges, and vibration patterns.
- Build a server-side token store with refresh and cleanup logic.
- Track delivery, CTR, conversion, and opt-out rates to measure effectiveness.
- Warn users about battery optimization settings that may block notifications.
- Handle token expiration gracefully with automatic re-subscription.
- Test across multiple Android browsers — Chrome, Samsung Internet, Edge, Firefox.
Push notifications are not a set-and-forget feature. They require ongoing optimization of timing, content, frequency, and targeting to maintain high engagement without driving users to opt out. Treat your push strategy with the same rigor you apply to email marketing or paid ads.
When combined with a fast, well-designed PWA experience, push notifications create a powerful re-engagement loop that can rival native apps — without the friction of app store distribution.
Stop losing conversions after the click.
DeepClick helps Meta advertisers fix post-click drop-offs and improve CVR by 30%+ through automated re-engagement and post-click link optimization.
发表评论